
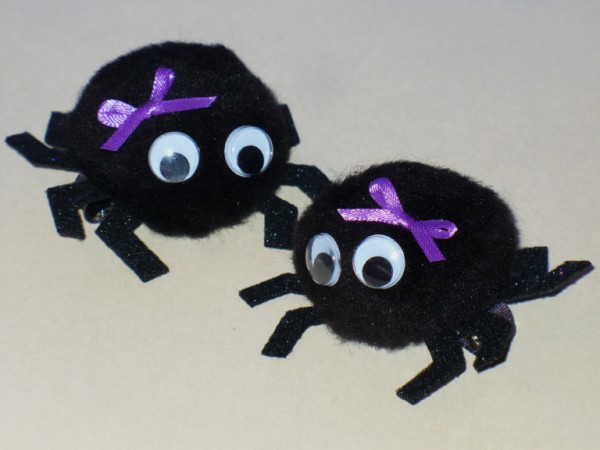
 I made these cute spider puff clips for Caralie to wear this month. I saw something similar at Target and figured I could make my own.
 The googly eyes are hysterical. And I even gave them their own bows so they could be "girl" spiders. Here's a list of materials needed if you want to make your own:
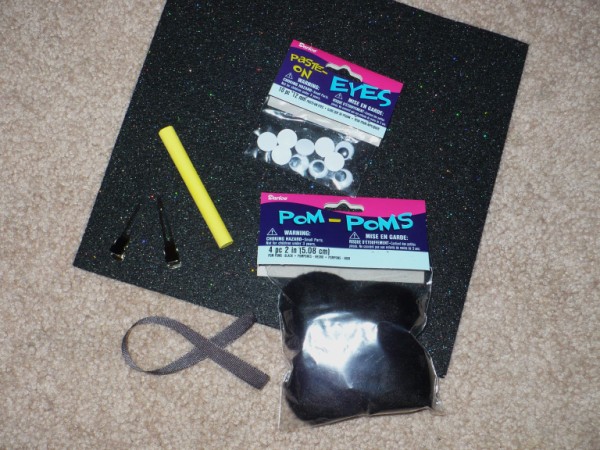 Super-stiff black glitter felt
2" black pom-poms
googly eyes
light-colored chalk
alligator clips
4" of 3/8-inch wide black grosgrain ribbon for each clip
scissors
hot glue and glue gun
skinny purple ribbon for bows (if desired)
STEP 1: First draw legs on a piece of cardstock. I based my legs around a quarter-sized circle as seen below:
 Cut out the legs and place on matte side of felt. Rub with chalk:
 Cut out felt legs:
STEP 2: Hot glue pom-poms to legs (glitter side up), then hot glue googly eyes:
 STEP 3: To make ribbon-covered clips like the ones above, hot glue one end of ribbon to bottom of clip as shown and wrap around hinge:
 Now glue ribbon down to top of clip and wrap under and glue to the inside:
 This gives the clip a little more grip in the hair.
Now glue clip to underside of spider:

STEP 4 (optional): Make tiny bows and glue to spiders:
 Now you have some cutie-patootie spider puffs!
 Caralie was so excited to wear these to school today. They even stayed put when she twirled around in her new Halloween skirt:
I'll post about that skirt later. I made it using the Circle Skirt Tutorial from MADE.
 HAPPY OCTOBER!

